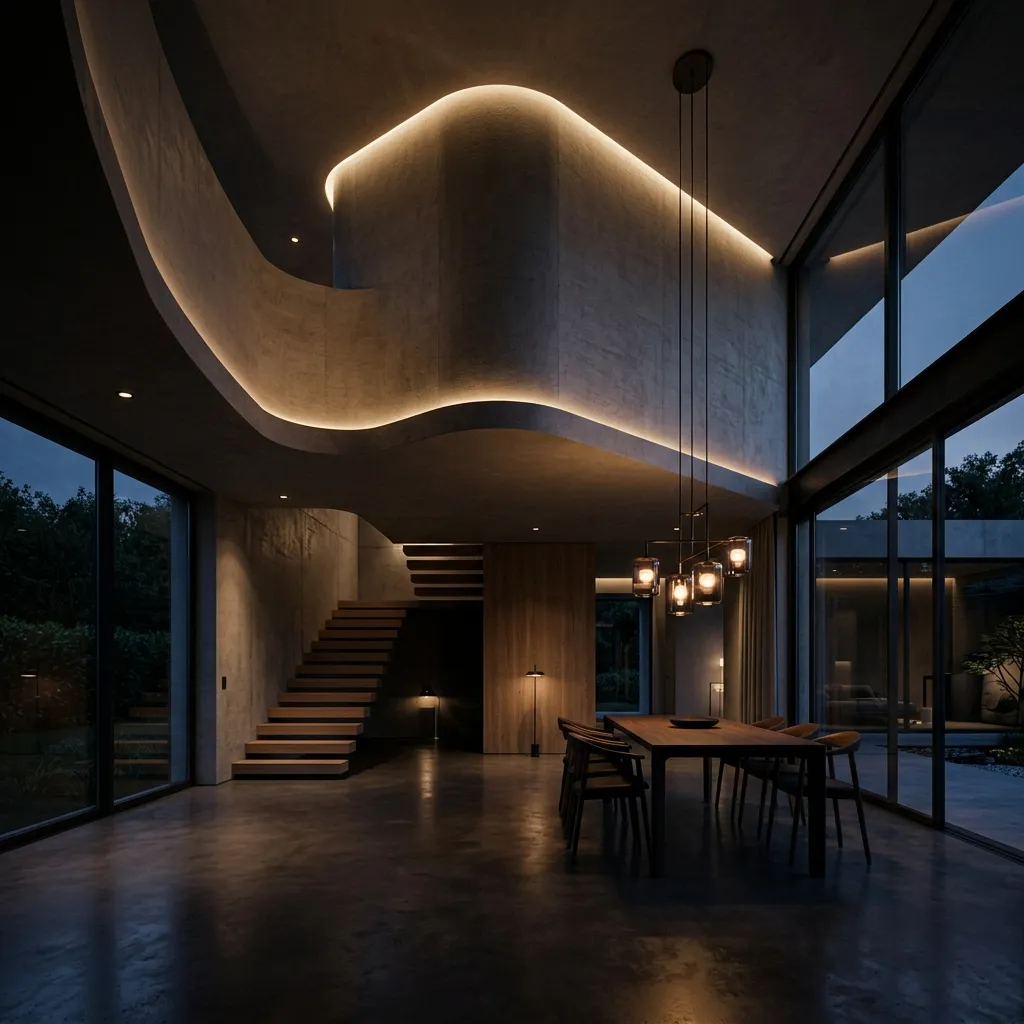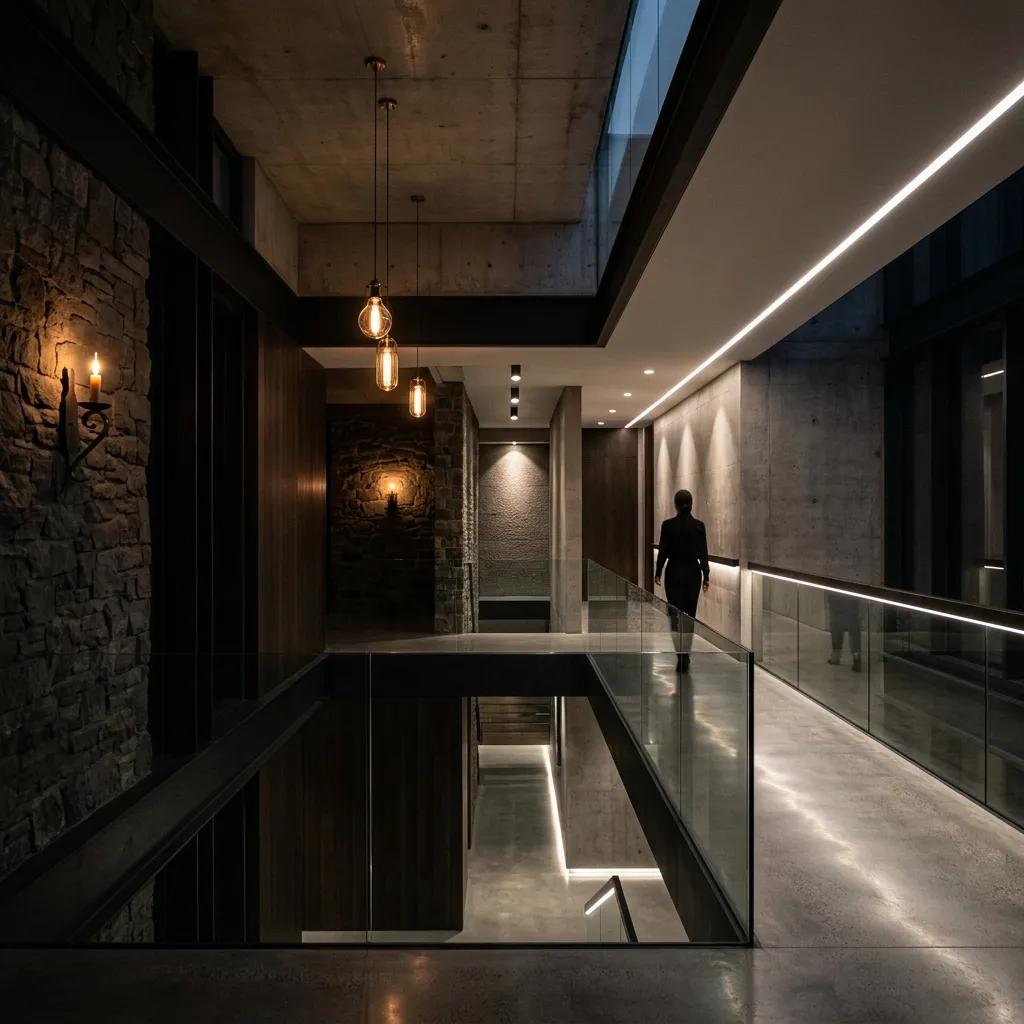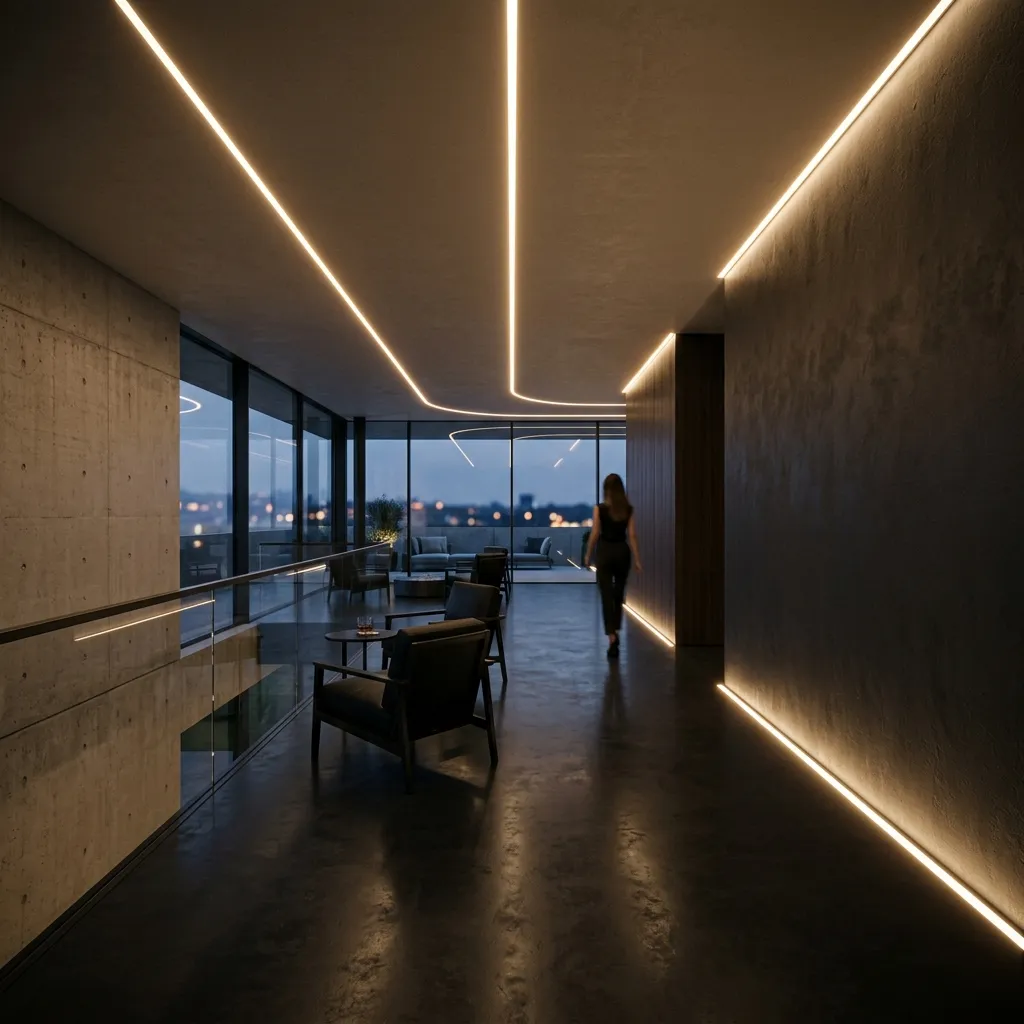
LED strip lights are incredibly versatile, but their performance depends entirely on how they are installed. A poorly installed strip will show visible dots, suffer from voltage drop, overheat, and fail prematurely. This guide covers the key decisions and techniques for a professional-grade LED strip installation.
Step 1: Choose the Right LED Strip
The two most important specifications are LED density (LEDs per meter) and voltage. For cove lighting hidden behind a lip where the strip is not directly visible, 60 LEDs per meter on 12V or 24V is adequate. For shallow profiles where the diffuser is close to the LEDs, use 120 to 240 LEDs per meter to eliminate visible dotting.
For runs longer than 5 meters, always specify 24V strips. 12V strips experience significant voltage drop over long distances, causing the end of the strip to appear noticeably dimmer than the beginning. 48V strips extend the maximum run length even further and are increasingly common in commercial installations.
Step 2: Select an Aluminum Profile
Never install LED strips without an aluminum extrusion profile. The profile serves three critical functions: it dissipates heat from the LEDs (dramatically improving lifespan), provides a clean mounting surface, and holds the diffuser that smooths the light output into a uniform line.
Profile shapes include surface-mounted (flat), recessed (flush with the ceiling or wall surface), corner profiles (for 45-degree installations in wall-ceiling junctions), and round profiles (for pendant and decorative applications). Choose the profile depth based on the strip width and the diffuser type.
Step 3: Size the Power Supply
Calculate the total wattage of your LED strip (watts per meter × total meters), then add a 20% headroom buffer. A strip consuming 14.4W/m over 10 meters totals 144W, so specify a 180W power supply minimum. Oversizing slightly extends the driver's lifespan by reducing thermal stress.
For dimmable installations, ensure the power supply (driver) is compatible with your dimming protocol. DALI drivers require a DALI bus connection; 0-10V drivers need a low-voltage control signal; PWM drivers respond to pulse-width modulation signals. Mismatched dimming protocols will cause flickering or non-functional dimming.
Step 4: Plan the Wiring
For runs longer than 5 meters on 24V strips, feed power from both ends to minimize voltage drop. For very long continuous runs, inject power every 5 meters using solder connections or quick-connect splices. Always use wire gauges appropriate for the current — 18AWG for runs under 3 meters, 16AWG for 3 to 5 meters, and 14AWG for longer runs.
Step 5: Install and Test
Clean the profile channel before adhering the strip. The adhesive backing on LED strips requires a clean, dry surface for reliable bonding. Press the strip firmly into place, ensuring no air bubbles. In high-temperature environments like Dubai, supplement the adhesive with thermal tape or mechanical clips for long-term reliability.
Test the full installation before closing up ceiling voids or installing trim. Check for even brightness along the entire run, verify dimming functions smoothly through the full range, and confirm color temperature matches your specification.
Common Mistakes to Avoid
Running 12V strips beyond 5 meters without parallel power feeds. Skipping the aluminum profile (causes overheating and halves lifespan). Using the wrong dimmer type (causes flickering). Cutting the strip at non-designated points (kills the remaining section). Installing strips in direct sun exposure without UV-rated enclosures.
Need LED strip lights cut to length and ready for installation? Visit our LED strip lights Dubai page or contact us for project-specific recommendations.